How to use SURPLUS Click .ORG Service
In order to access the following services, registration is required for security and protection of prospect personal info:
- Prospects Information
- Skip-Tracing Information
- Additional free services
- to percolate potential scamers and protect prospects from their scaming activities
- to provide good-will agents with the most and fastest information
- to allow attorneys and agents to access the best quality information
- to enable agents and attorneys to use free CRMs and Virtual Office
Registration
For the above secure activities, all anonymous visitors will follow Registration > Add cases to prospects > Access Skip-Tracing Information > Extra Services such as Download, Export, and/or Populate the data.
Step 1. Click “Log in” Menu located in the right top navigation menu bar, or click https://www.surplusclick.org/user/register.
Step 2. Once Log in service page comes up, click “Create new account” Tab.
Step 3. Fill all fields, accept “Terms and Agreements,” and press “Create New Account” button.
Step 4. System will send a verification email. If your email information and mobile number are correct, you will receive an email in less than 30 seconds.
Step 5. Open your email and click the link to create your own password.
Step 6. When you create a new password successfully, SURPLUS Click .ORG web will go to user page.
Adding Cases to My Prospects
After successful creation of a new account, Click “List” menu item located on the top navigation menu.
Step 1. When List page appears, every single surplus case will have one of following status marks:
1) Link: Available at www.surplusclick.com
2) Button: Save to My Prospects
3) Filed with Attorney, Filed with Agent, Claim as shown in the following shots.
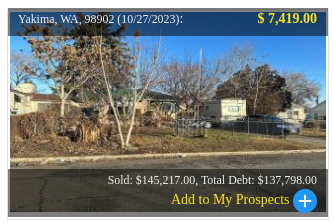
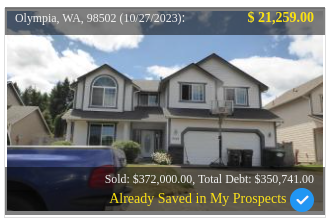
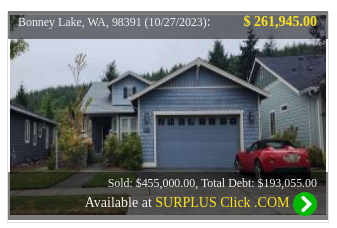
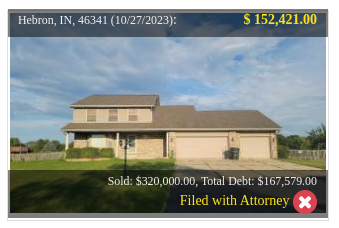
Step 3. Once you save one case to your “My Prospects,” the system page will show “Saved to my prospects,” on the top of page.
Step 4. Now, you are ready to view details of Prospects, MLS-based Property Information, Auction information, debt history, contact information, and other related skip-traced information.
Step 5. Click “My Prospects” menu item in the top navigation menu bar.
After successful creation of a new account, Click “List” menu item located on the top navigation menu.
Step 1. When List page appears, every single surplus case will have one of following status marks:
1) Link: Available at www.surplusclick.com
2) Button: Save to My Prospects
3) Filed with Attorney, Filed with Agent, Claim as shown in the following shots.


- Surplus Cases with “Available at www.surplusclick.com” are only available in the commercial list site under the contract with SURPLUS Click .COM.
- Surplus Cases with a button “Save to My Prospects” are available in SURPLUS Click .ORG as free list to access.
- Surplus Cases with “Filed or Claimed” are the cases that are not available any more because they are in final processes.
Step 3. Once you save one case to your “My Prospects,” the system page will show “Saved to my prospects,” on the top of page.
Step 4. Now, you are ready to view details of Prospects, MLS-based Property Information, Auction information, debt history, contact information, and other related skip-traced information.
Step 5. Click “My Prospects” menu item in the top navigation menu bar.
Prospects, MLS-Based Property Info, and Details of Skip-Traced Information
Step 1. Once My Prospects service page comes up, the initial list of surplus cases you have saved will be listed as shown in Figure 1.

Figure 1. List of Surplus Funds Case and Summary
Step 2. Click one of saved surplus cases to look at its details.
Step 3. Once your selection is made, the detail page will switched as shown in Figure 2.
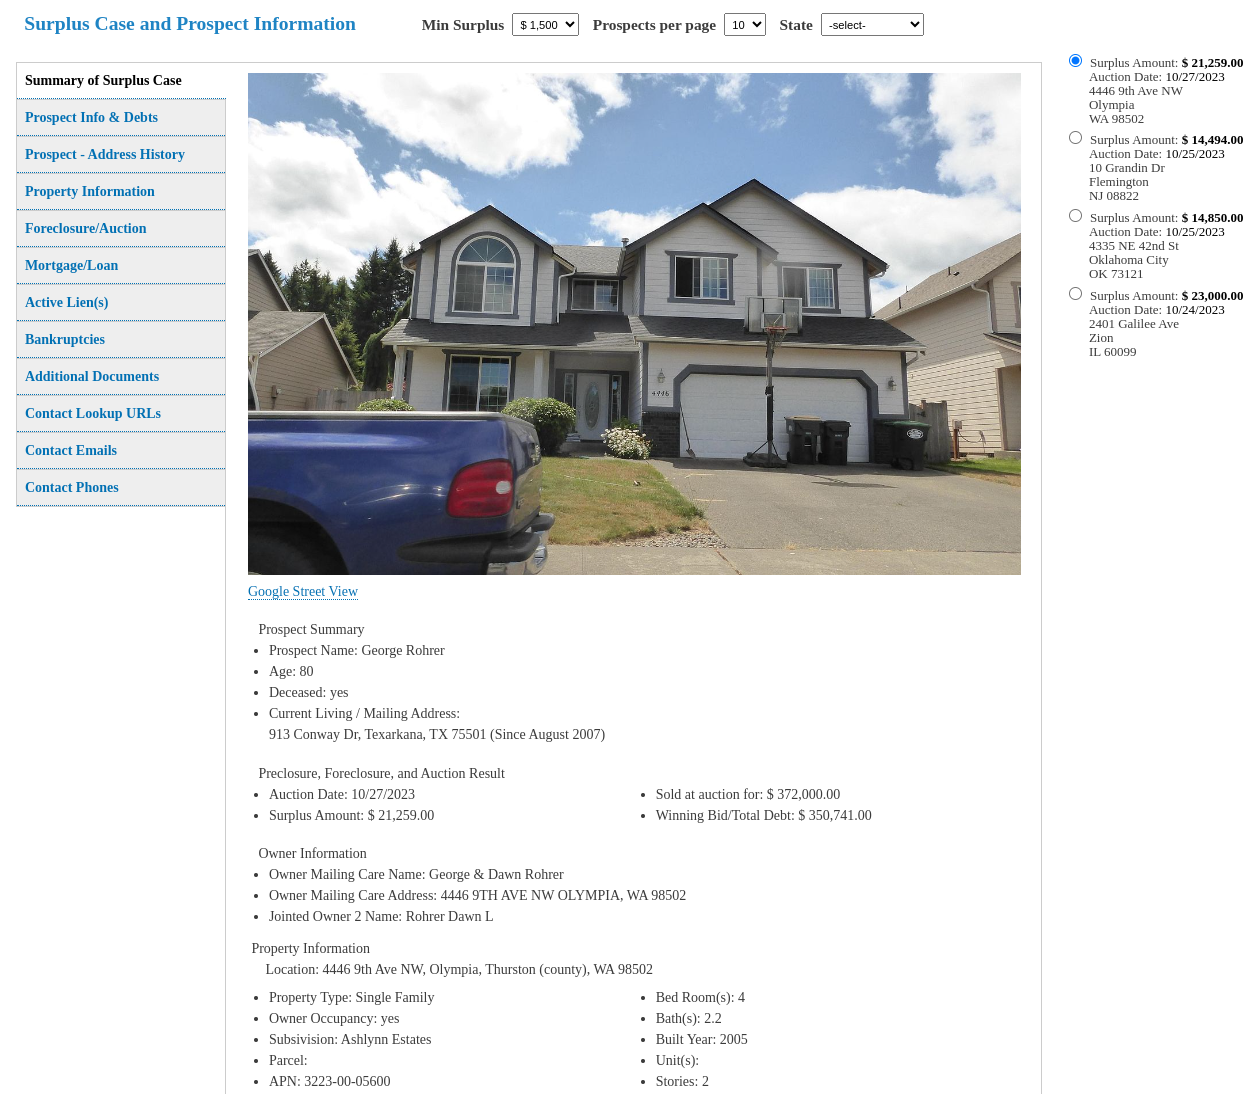
Figure 2. Detail View of Saved Surplus Funds Case
Step 4. The default detail view is a summary as in Figure 6. Click all left aligned tabs one by one to view the following information:
Step 1. Once My Prospects service page comes up, the initial list of surplus cases you have saved will be listed as shown in Figure 1.

Figure 1. List of Surplus Funds Case and Summary
Step 2. Click one of saved surplus cases to look at its details.
Step 3. Once your selection is made, the detail page will switched as shown in Figure 2.

Figure 2. Detail View of Saved Surplus Funds Case
Step 4. The default detail view is a summary as in Figure 6. Click all left aligned tabs one by one to view the following information:
- Summary of Surplus Case
- Prospect Info & Debts
- Prospect – Address History
- Property Information
- Foreclosure/Auction
- Mortgage/Loan
- Active Lien(s)
- Bankruptcies
- Additional Documents
- Contact Lookup URLs
- Contact Emails
- Contact Phones

Figure 6. Detail View of Saved Surplus Funds Case
Export to CSV
Export to JSON
Populate to CRM Account
Populate to External CRM